Element properties
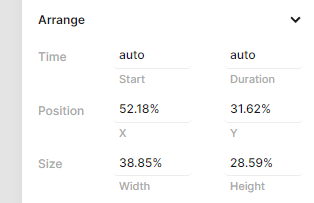
Arrange
Use the Time and Duration to arrange the element on the timeline. To have it determined automatically, set it to "auto".
The Position and Size properties determine the position and size of the element within the composition.
Transform
The anchor sets the element's origin point. By default, all transform properties originate from the center (50%, 50%).
Use the Alignment to align the content (i.e. text or image) of the element horizontally and vertically.
Use the Scale transformation to rescale the element. A value of 100% means that the element has not been scaled and is at its original size.
Skew an element in degrees using the Skew option.
An element can be rotated in 2D space by rotating the Z axis, while rotating the X and Y axis places it in 3D space. The 3D Perspective lets you control the strength of the perspective effect. It's the distance between the camera and the element. If auto, the perspective is calculated by the element's dimensions.
Dynamic
Enable this setting if you plan to use Bulk Generation or Shareable Forms to dynamically replace this element.

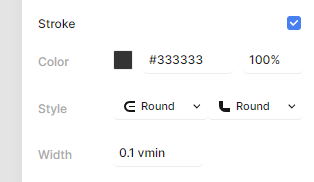
Stroke
Draws a line around the content of the element. You can set the line color, width, join and cap of the stroke. The shape element also has a length option.
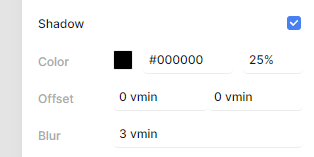
Shadow
Draws a shadow underneath the element. The color, offset and blur radius can be set.
Border radius
Rounds off the corners of the content of the element.

Opacity
This makes the element transparent from 0% (fully transparent) to 100% (fully opaque).

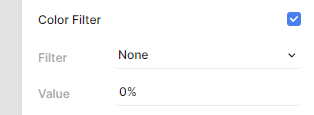
Color filter
The color filter that is applied to the element. These options are currently available: None, Brighten, Contrast, Invert, Grayscale, and Sepia. The provided value allows for more control over the filter.
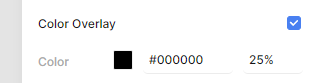
Color overlay
A color that is applied on top the element. For example, you can use this setting to darken the background to create a greater amount of contrast with the foreground.
Blend
The blend mode of the element; None, Multiply, Screen, Overlay, Darken, Lighten, Color Dodge, Color Burn, Hard Light, Soft Light, Lighter, Difference, Exclusion, Hue, Saturation, Color, Luminosity.

Clip
The content of the element is clipped to its borders when enabled.

Visible
This property can be set to Visible and Hidden. When set to Hidden, the element is not rendered.

Padding
Adds horizontal and vertical padding to the content of the element.

Z Index
Sets the order in which elements are drawn in their composition. This is normally determined by the order in which elements are stacked in the left-side navigator of the editor.

Aspect Ratio
The width/height ratio of the element's content (1.0 results in a perfect square, 1.6 results in 16:10). Use the Alignment property to align the content within the element's borders.

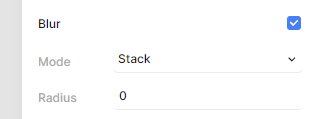
Blur
The radius of the blur that is applied to the element. You can set the Mode to Stack (stack blur), Box (box blur) or Box-2 (double box blur). This option is resource-intensive, so use it moderately.
Repeat
This element acts as a fill pattern when enabled.

Mask
When enabled, the element serves as a mask for the element one track below it. The options Alpha and Alpha Inverted use the alpha channel of this element, and Luma and Luma Inverted use the luminance.

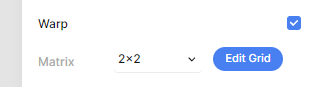
Warp
Applies a warp effect to the element. Matrix allows you to choose the size of the grid of points over which the warp will be calculated. By choosing the Perspective option, the element is warped by using a 2 by 2 grid, similar to After Effects' "Perspective Corner Pin". Click on Edit Grid to set the control points.