How To Create Personalized Videos At Scale

Learn how to automate personalized videos for your customers or leads (year-in-review, outreach, etc.) using a bulk generation spreadsheet or CSV file.
Videos that are personalized have a greater impact on viewers compared to generic videos, no matter their intended purpose, such as marketing campaigns, end-of-year summaries, sales outreach to prospects, and more. While various kinds of user data can be used for personalization, including their name, company, photos, and other relevant details, the idea of creating hundreds or even thousands of these videos may seem daunting. Fortunately, video automation can simplify and streamline this process!
Creatomate is a video automation platform that enables you to automate and scale your video production using both code and no-code tools. The easiest and most straightforward way to generate personalized videos on a large scale is through a video generation spreadsheet. Alternatively, if you're a developer, you can also build custom solutions using the REST API, or if you're a marketer or would prefer not to code, you can take advantage of no-code automation platforms such as Zapier, Make (Integromat), or Pabbly. In this tutorial, however, we will focus on using the spreadsheet method to create personalized videos at scale.
Below is an example of a personalized year-in-review video we'll create. To automate any type of personalized video, you can use the editor to create your own video designs according to your use case and available data.
Looking for a fully automated approach to creating personalized videos? Then, be sure to check out our tutorial on how to generate personalized videos using Zapier.
Prerequisites
To follow along, you'll need a Creatomate account. You can create a free account here.
We'll also need some data to personalize the videos. Which data you need depends on your use case. But for this tutorial, we need the user's name, number of contributions, and most popular photo. While you can manually enter this data into the spreadsheet we will create, importing it as a CSV file is more convenient.
How to create personalized videos at scale
We'll start by creating a video template. This design will serve as the foundation for our personalized videos. Next, we'll create a feed, which is essentially a spreadsheet that generates videos by combining a template with any data we provide. Then, we can generate our videos with just a few clicks and download them to our device.
Let's get started!
1. Create a personalized video template
Log in to your Creatomate account and navigate to the Templates page. Click the + New button to browse the template gallery. You can choose any template you like or design your own from scratch. But for this tutorial, let's use the Retrospective Short template from the Personalization category. Select a size according to the videos you want to create, like 16:9 Landscape, and click Create Template to open it in the editor:
In the left-hand panel, you can see the elements that make up our template. An important thing to know about templates is that they can include dynamic elements, merely serving as placeholders. In our template, the Name, Contributions, and Photo elements are dynamic. This means its content can be replaced with other text and media, using the automation spreadsheet that we'll create in the next step.
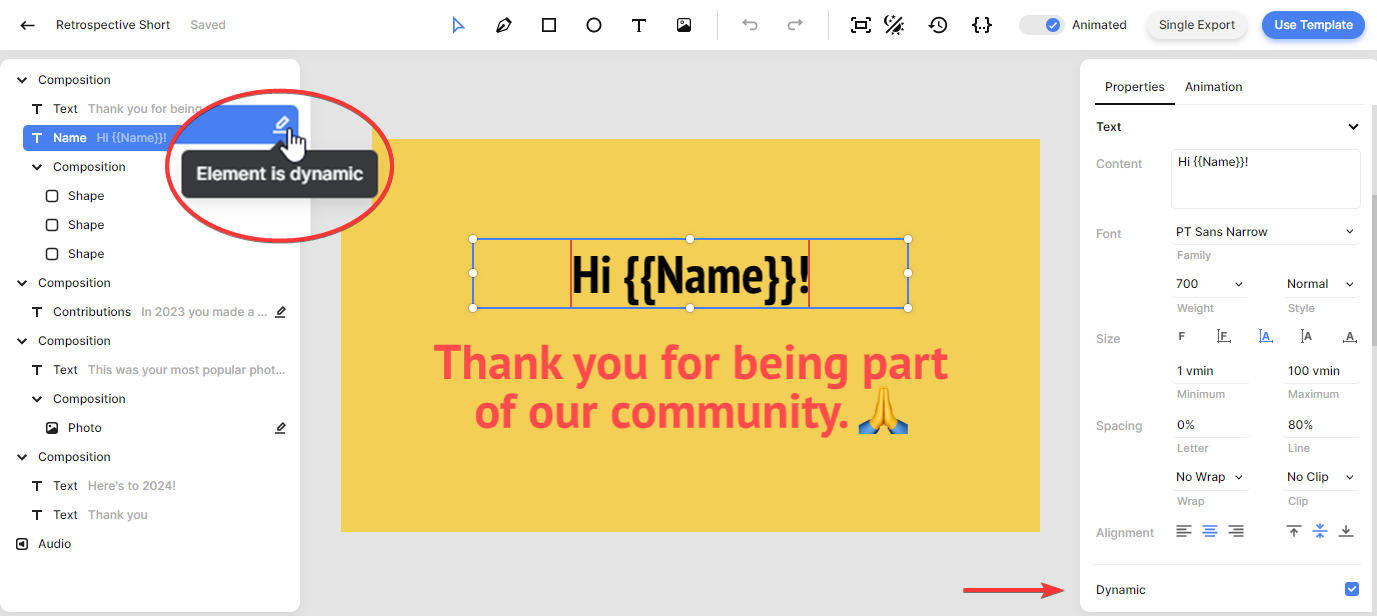
You can customize the template in any way you like. And if you want to make an element dynamic or non-dynamic, simply select it and check the Dynamic property from the right side panel, as shown above.
To keep things simple, I'll use the template as it is. Let's move on to the next step: creating a feed.
2. Create a feed for personalized data
Click the Use Template button at the top right of the template editor. Click on Spreadsheet to Video and select Create new feed. After clicking Continue, we'll be taken to our newly created feed:
You can think of the feed as a spreadsheet that generates videos based on a template. Our feed has three editable columns that correspond to our template's dynamic elements: Name, Contributions, and Photo. A unique video will be generated for every individual when we enter different data for each row.
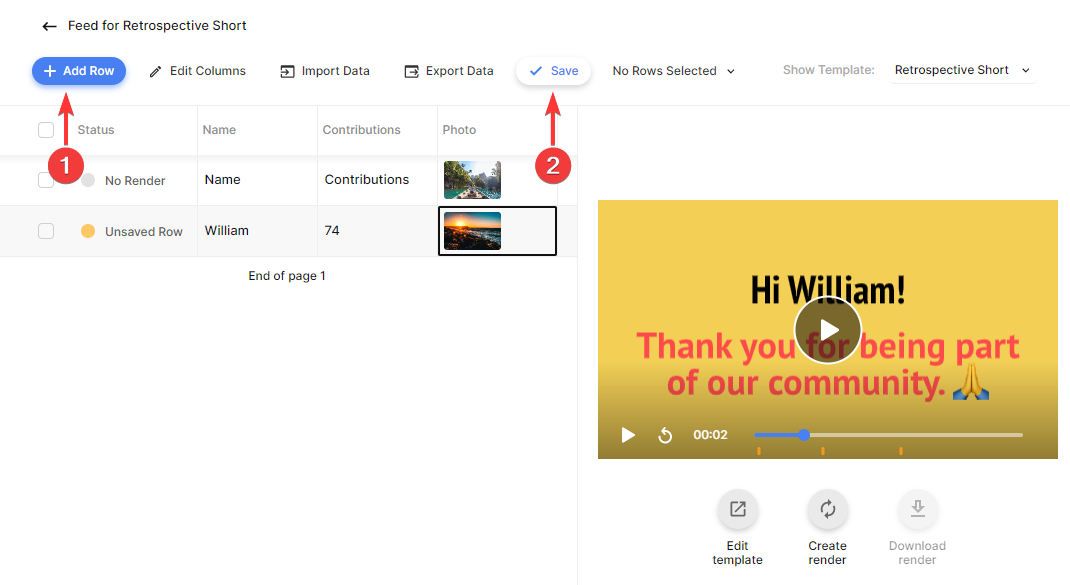
There are multiple methods to input data into your feed, with the simplest being manual entry. Clicking Add row adds another row to the feed. Let's input text values for the Name and Contributions columns and upload an image for the Photo column (or paste a URL to a public accessible image). A video preview is visible on the right side of the feed. When finished, click Save. After saving, the status column is updated from Unsaved Row to No Render, indicating that your data is saved but that no video has been generated yet (also called a render):
The most efficient way to add your data is to import a CSV file. Click on Import Data and select a file from your device. Here, you can map the columns in the CSV to the columns in the feed, and then click Continue. Before proceeding, it is recommended to select a merge column with unique data, such as Name. Once again, click Continue. As soon as you're sure everything's good, click Import Data under Summary to add your data to the feed. Don't forget to click Save after completion:
After you've added all your data, we'll move on to the next step, where we'll generate and download the personalized videos.
3. Generate and download the videos
Every row has a preview of the final video on the right side. Once you're happy with the results, you can generate the final videos. To do that, select a few rows, click × Rows Selected, and click Create Renders. As soon as the status column indicates Rendered, the videos are ready:
Next, select the corresponding rows, click × Rows Selected, and choose Download Renders to download the videos. You can now choose a file name by selecting a column, like Name, and click Download. There will be a ZIP file downloaded to your device:
Tip: If you just want to render and download a single video, you can also use the Create render and Download render buttons below the preview.
Alternatively, it is also possible to export the entire feed, including data and renders, as a CSV file. Click Export Data, make sure all columns are checked, then click Continue. Next, make sure your template is selected and click Continue. On the summary page, click Export Data to download your feed as a CSV file:
The videos can now be used wherever you want.
Wrapping up
Creating personalized videos at scale is easy to do. By designing a template that fits your use case precisely, you can automate any kind of personalized video. Simply import your data, and with a few clicks, your videos will be generated and ready to use!
As a next step, you can use a no-code automation tool like Zapier to produce personalized videos completely hands-free. To get started, check out this tutorial.
You might also like these tutorials


Start automating today
Start with a full-featured trial with 50 credits, no credit card required.
Get started for free →