How to Automatically Crop & Resize Videos using Zapier

In this guide, you'll learn how to set up an automated no-code workflow to crop, resize, and blur the edges of videos using Zapier, Google Drive, and Creatomate.
If you're planning to share the same video across different social media platforms, you should know that each platform favors a specific video format. For example, TikTok uses a vertical 9:16 format, YouTube prefers a horizontal 16:9 format, whereas Instagram videos often work best in a square 1:1 format.
One option is to manually crop or resize the video for each platform before sharing. And a very common way to deal with vertically filmed videos (like TikTok) on other channels is to blur the edges, as in the 3rd example below.
It does sound like a lot of work, though. Are we really supposed to do this manually every time we repurpose a video for a different platform? Fortunately, the answer to this question is no, as this process can be automated entirely. Here's how.
In this tutorial, we'll set up a Zapier workflow that resizes or crops videos uploaded to Google Drive to fit the appropriate format (like 16:9, 1:1, or 9:16) and publishes them on social media. This process will be fully automated. Let's dive in!
Prerequisites
As an example, we'll focus on resizing a vertical video into a square format for posting on Facebook. The tools we'll use are:
- Zapier: to set up the automated workflow.
- Google Drive: to upload the input video.
- Creatomate: to automatically crop/resize the video. Don't have an account? Sign up for free.
- Facebook Pages (optional): to post the video.
Note: Feel free to adapt this example to your own needs. For instance, you could use Airtable instead of Google Drive, and YouTube instead of Facebook.
How to crop and resize videos with Zapier?
To begin, we'll prepare a Google Drive folder to upload input videos that we want to process.
Then, we're going to make a video template in Creatomate that defines to which resolution we want to resize. This will help us to crop/resize the vertical videos to a square 1:1 format for Facebook. You can choose whether you want the video cropped into a square and resized with blurred edges.
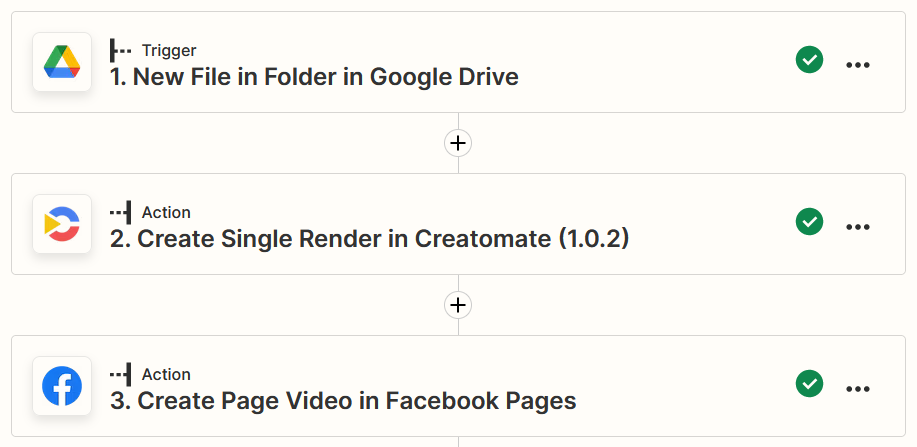
Finally, we'll create a Zap that pulls the uploaded video from our Google Drive folder, crops and resizes it using Creatomate, and then posts it on our Facebook page. Our Zap will look something like this:
1. Prepare Google Drive
Log in to your Google Drive account and click + New in the top left corner. Select the New Folder option, name it Crop/Resize Videos, and click Create.
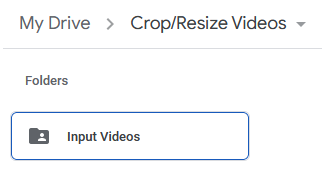
Double-click to enter the Crop/Resize Videos folder. Let's add a subfolder to upload the videos we want to crop/resize. So, right-click, choose New Folder, name it Input Videos, and click Create:
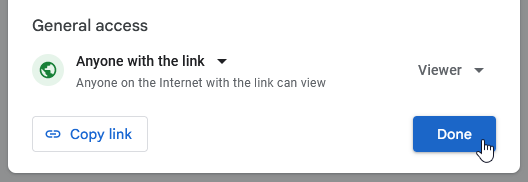
We have to make this folder publicly accessible, so Creatomate is able to access the videos. To do this, right-click the folder, select Share, and set the General access to Anyone with the link. Then, click Done:
Let's upload an example video. This video will be used as a test to set up our Zap. For example, you can download and use this video, use one of your own, or download one from Pexels.
Now that we've prepared a Google Drive folder to upload our videos, we're going to create a video template in the next step.
2. Create a video template in Creatomate
Log in to your account. Navigate to the Templates page and click + New. From the Fundamentals category, we'll use the Crop/Resize a Video with Blur template. Let's use the 1:1 Square size and click Create Template:
As this template from the gallery has already been set up for cropping and resizing videos, we don't have to make any changes. Let's move on to Zapier to set up our automated workflow.
3. Trigger your Zap for new input video files
Log in to your Zapier account, click Create, then choose Zaps. To set up the trigger, search for the Google Drive app and select the New File in Folder event. Then, choose your account from the list or sign in to connect your account.
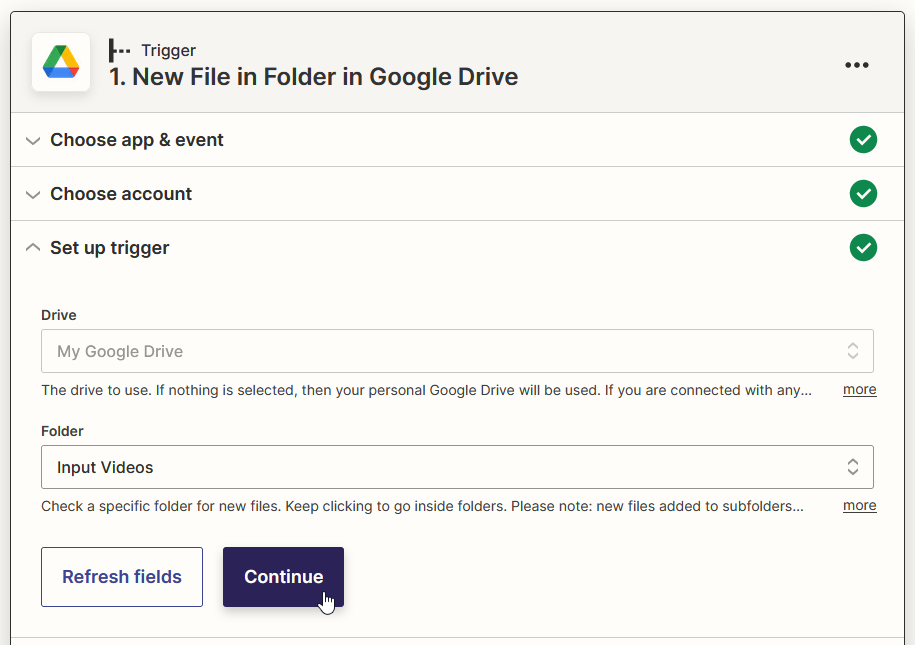
Next, select your Drive, and the Input Videos folder. Then, click Continue:
Test the trigger to check if Zapier is able to find the video we've just uploaded. When the test was successful, click Continue.
4. Generate a cropped/resized video
Search for the Creatomate app and select the Create Single Render event. Continue by selecting your account from the list or sign in with your project's API Key to connect your account first.
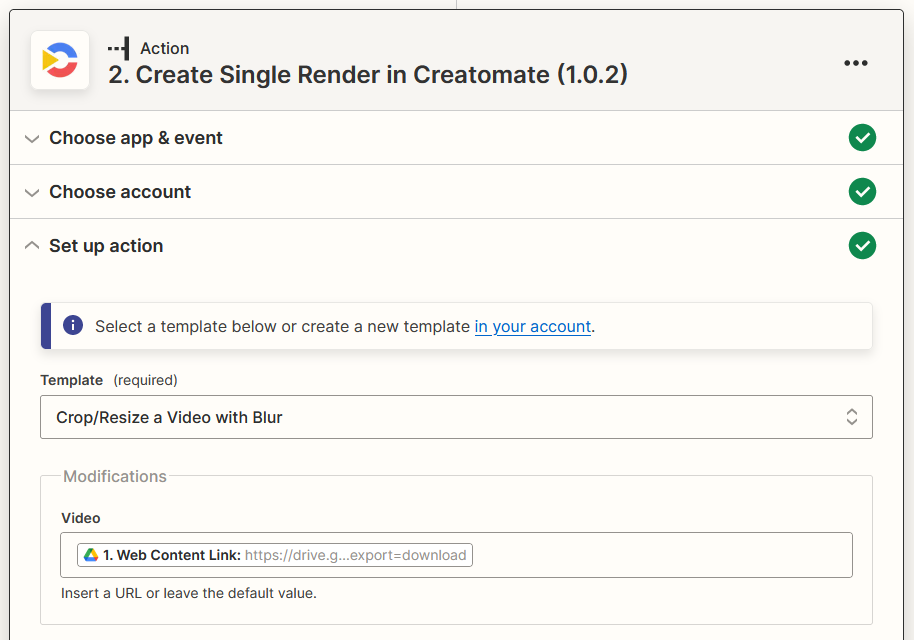
To set up the action, select the Crop/Resize a Video with Blur template in the Template field. Then, we'll select Google Drive -> Web Content Link in the Video field. When done, click Continue:
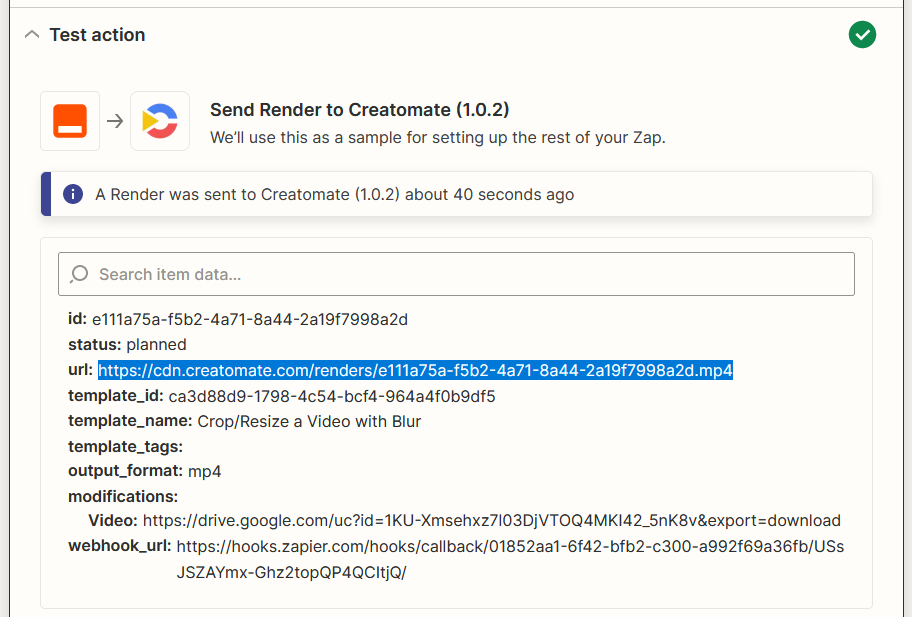
Then, click Test step to make sure Creatomate is able to auto-generate a square video from our vertical input video. Wait a few seconds and go to the URL that's returned. When you get a No Found page, it's just because the video isn't done yet. If that happens, just wait a little longer and try again. This is only while testing; once your Zap is published, the next action waits for the video to complete. Click Continue:
5. Post on social media
By now, the cropped or resized video has been generated and is ready for further processing. As an example, I'll show you how to post it on Facebook. If you prefer to use a different platform, here's how to share it on Instagram, TikTok, or as a YouTube Short.
Click + to add a step to your Zap. Search for the Facebook Pages app and select the Create Page Video event. Continue by choosing your Facebook account or sign in to connect your account.
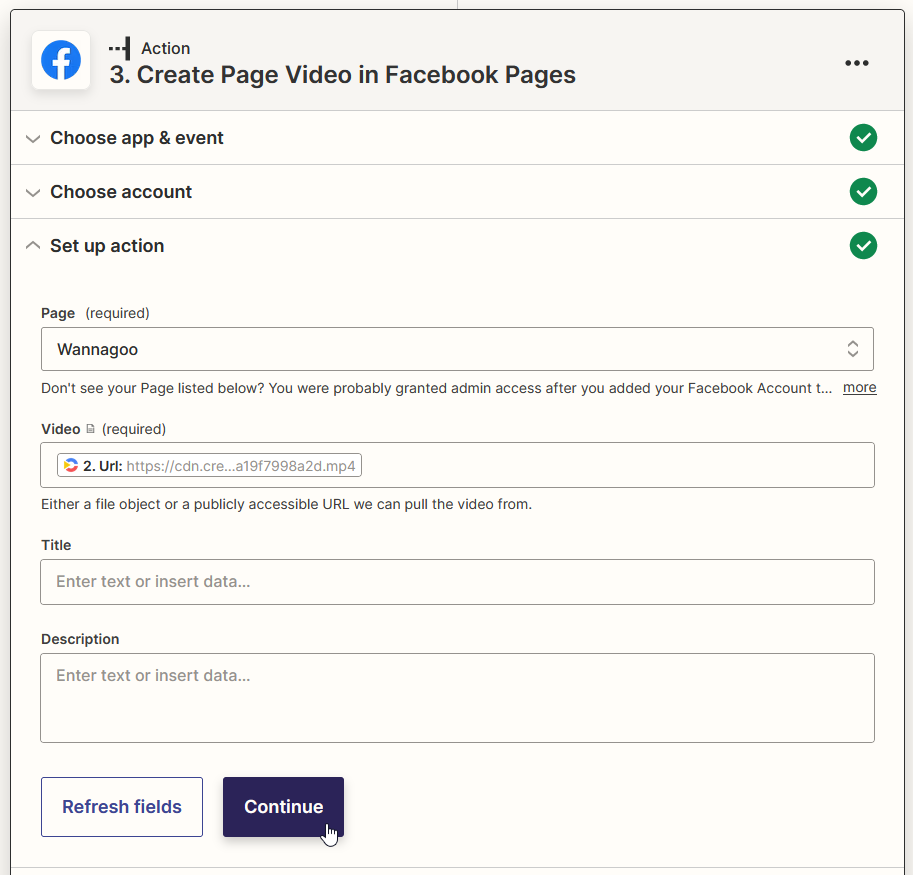
To set up the action, select your Facebook page first. Then, to add the video, select
Creatomate -> URL in the Video field. It's optional to write a title and description. When done, click Continue:
Click Test step to make sure Zapier can successfully post the video to your Facebook page. Then, head over to your page to check if the video has been uploaded:
Lastly, click Publish to activate your Zap. From now on, whenever you upload a video to your Google Drive folder, this Zap will automatically resize the video and post it to Facebook.
Next steps to automate your video creation
And that's it! We now have a no-code process that automatically crops and resizes videos from our Google Drive folder. Simply adapt this workflow to your specific needs, and you'll never have to manually crop or resize videos again. With Zapier's flexibility and support for over 7,000 apps, you can create automations that integrate the tools that work best for you.
But it doesn't end here. Video automation can do much more than just cropping and resizing. Creatomate features an online template editor that provides incredible flexibility for creating video designs that perfectly fit your needs. Whether you're looking to generate personalized videos for outreach or produce short-form content for platforms like Instagram, TikTok, and YouTube, the possibilities are endless.
Also, generative AI can take your video production to the next level. For example, you can produce faceless shorts, stories, and reels with voiceovers, images, and subtitles by simply entering a topic. Here's a tutorial with step-by-step instructions.
If you're ready to automate more of your marketing efforts, check out one of the tutorials below to get started in just a few minutes:
👉 How to Auto-Generate and Send Prospecting Videos using Zapier
👉 How to Automatically Create and Post YouTube Shorts using Zapier
👉 How to Automatically Create and Post TikTok Videos using Zapier
👉 How to Automatically Create Instagram Posts using Zapier
👉 Use ChatGPT to Auto-Create Social Media Content with Zapier
👉 Using AI and Automation to Create Social Media Videos Every Day
👉 How to Create Videos with AI Voice Overs using Zapier
You might also like these tutorials


Start automating today
Start with a full-featured trial with 50 credits, no credit card required.
Get started for free →