How to Automatically Create Facebook Posts using Zapier

In this tutorial, you'll learn how to auto-generate videos and images for posting on your Facebook page using Zapier and Creatomate.
Facebook marketing can be a real hassle to keep up with. Especially if you're running a business, frequently posting content on your channel can become a huge time sink. Fortunately, most aspects of your Facebook marketing efforts can now be done on autopilot with the help of no-code automation tools. In this tutorial, I'll show you how.
In order to automate Facebook marketing, we'll use Zapier, a no-code automation platform, along with Creatomate, an API for generating videos and images. Once the workflow is up and running, manually crafting Facebook visuals will be a thing of the past. Have a specific requirement? No problem – with Zapier's flexibility, you can easily adapt the workflow to your own situation based on any of the 5,000 supported apps.
To demonstrate the process, we'll set up an automated workflow that produces the Facebook visual shown above. This is a great example of marketing automation in action. By repurposing content from existing sources, we can consistently produce interesting videos to post on our Facebook feed. All we have to do is curate the data that's being fed into the automation process.
In this case, we are using customer reviews, however, the process can be applied to other marketing concepts too. Feel free to play around with Creatomate's template editor to create a video or image design that fits your brand.
Prerequisites
Since you'll likely be creating a workflow based on your own requirements, we'll keep things simple. Once you've completed this quick tutorial, you can adapt it to your own situation.
Here are the tools we'll use:
- Creatomate: to create a template and generate videos or images. Sign up for free.
- Zapier: to create a table and set up an automated workflow.
- a Facebook page: where your posts get automatically published.
How to auto-generate Facebook posts with Zapier?
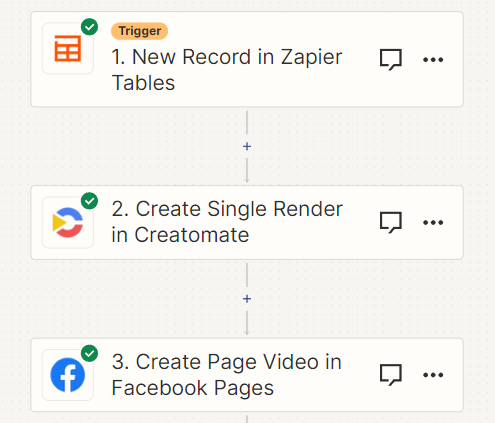
The first step is to create a video or image template in Creatomate, which will be used as the design for all our visuals. Next, we'll set up an automated workflow using Zapier. To do this, we'll create a table that serves as the data source for our Zap. Creatomate then generates the visuals, which will automatically be posted on your Facebook page. Here's what the Zap will look like:
Let's get started by creating a template.
1. Create a template in Creatomate
Sign in to your account and go to the Templates page. Click + New to browse the template gallery. You can choose any ready-made template you like or design your own from scratch. For this tutorial, we'll use the Animated Review template from the Social Media category. Select the 6:4 Landscape format and click Create Template to open it in the editor:
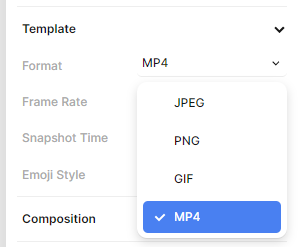
Although this is a video template, you can create images as well. To change the file format of the template, go to the Format setting in the right-hand panel:
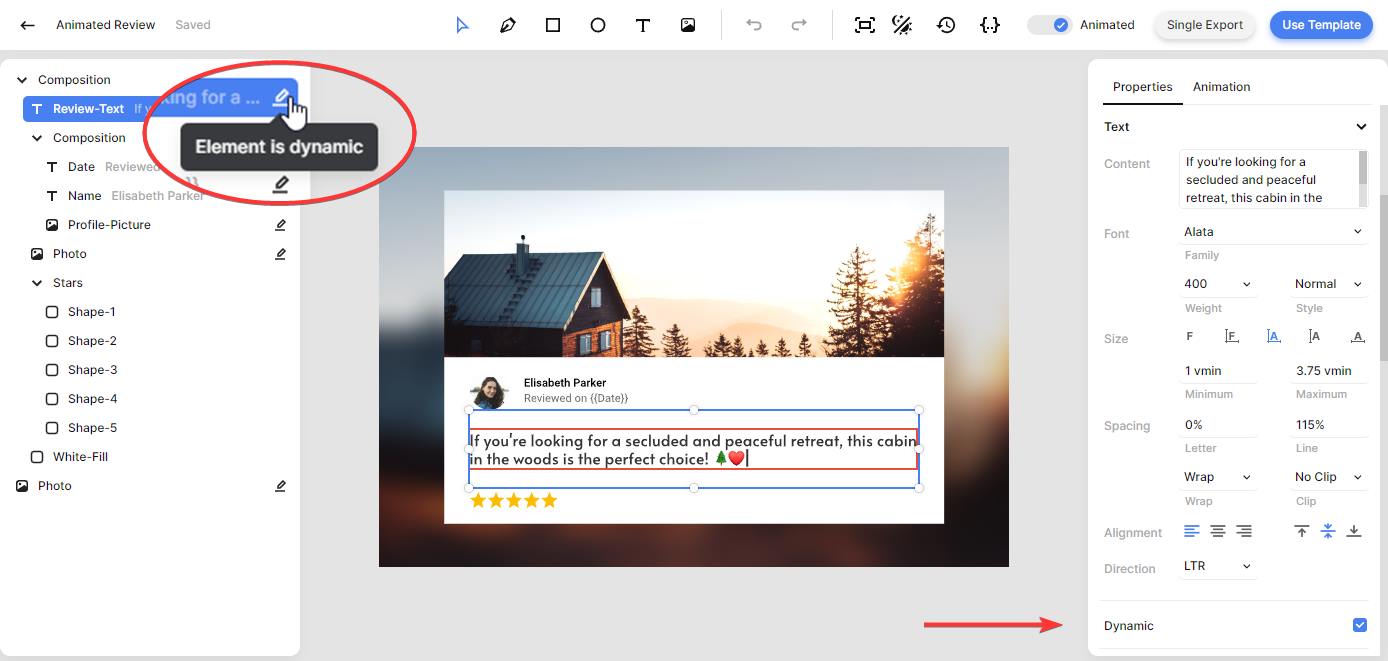
Let's take a look at the left side panel. Here we can find the elements that make up the template. It's important to know that elements can be marked as Dynamic. In this template, the Review-Text, Date, Name, Profile-Picture, and Photo elements are all dynamic. This means we can replace its content with other text and images through the automated Zapier workflow we're about to set up:
You can customize the template in any way you want. However, for the sake of simplicity, I'll use the template as it is. If you'd like to learn more about the editor, you can check out this quick starting guide.
2. Trigger the automated workflow
If you're already familiar with Zapier, you can use any other app to initiate your workflow and provide content for your Facebook posts.
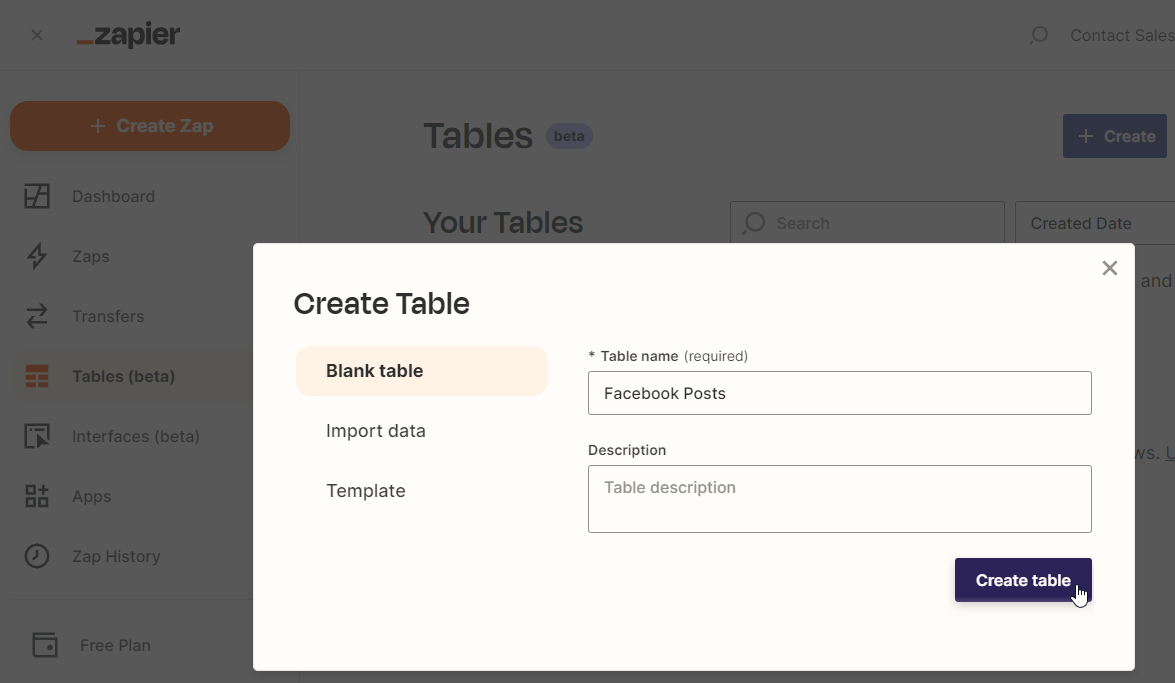
Log in to your Zapier account and navigate to the Tables (beta) page. Click the + Create button, enter a name, like Facebook Posts, and then click Create table:
In the table editor, we'll set up fields based on the dynamic elements in our template. Additionally, we'll also add a description field for posting on Facebook. Now, let's create the following fields and enter the corresponding data for the first record:
- A long text field: Review-Text -> Our stay at the oceanfront accommodation was spectacular. Waking up to the sound of the waves and enjoying the breathtaking views made our vacation unforgettable. We highly recommend it! ☀️👨👩👧👦
- A text field: Date -> August 5, 2023
- A text field: Name -> Samantha Smith
- A link field: Profile-Picture -> https://cdn.creatomate.com/demo/woman.jpg
- A link field: Photo -> https://cdn.creatomate.com/demo/beach.jpg
- A long text field: Description -> Happy customer here!

Next, return to your Zapier dashboard and click + Create Zap. Search for and choose the Zapier Tables app and select the New Record trigger. Then, click Continue.
On the Trigger page, select your Facebook Posts table in the Table ID field, and click Continue:
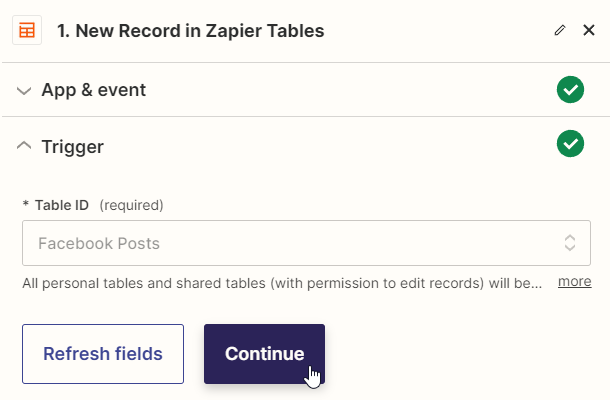
Click Test trigger on the Test page to make sure Zapier can find the record we've just created. When the test is successful, click Continue with selected record, and move on to the next step.
3. Auto-generate the visuals
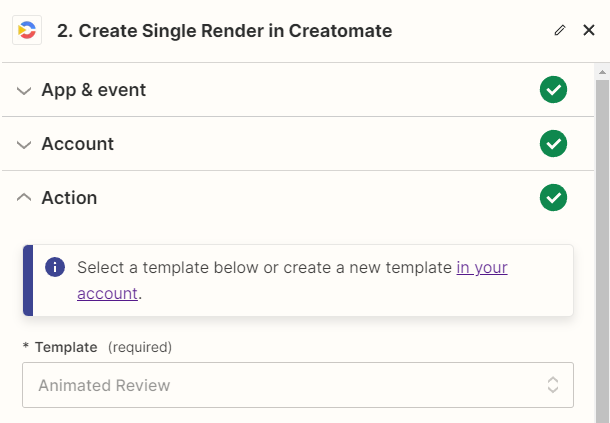
Search for the Creatomate app and select the Create Single Render event. Continue by selecting your account or signing in with your project's API key.
On the Action page, select the Animated Review template in the Template field first:
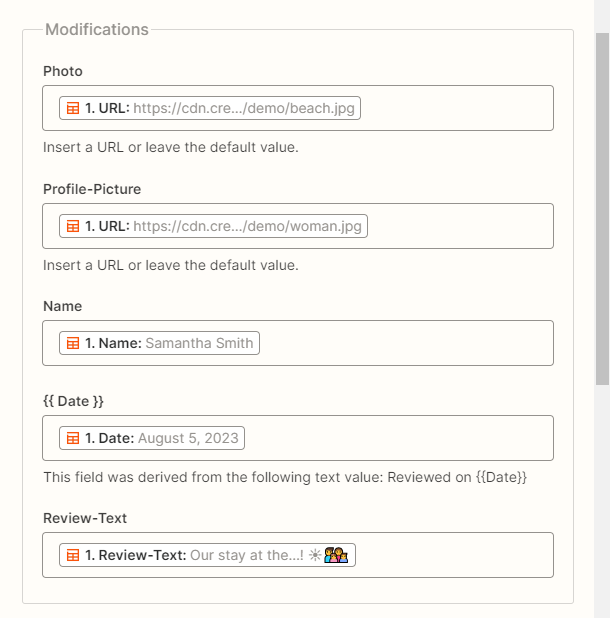
Then, the templates' dynamic elements appear under Modifications. We can now map our table fields to the template as follows:
- Set Photo to Zapier Tables -> URL (ending at /demo/beach.jpg)
- Set Profile-Picture to Zapier Tables -> URL (ending at /demo/woman.jpg)
- Set Name to Zapier Tables -> Name
- Set {{ Date }} to Zapier Tables -> Date
- Set Review-Text to Zapier Tables -> Review-Text
When done, click Continue:
Click Test step on the Test page to ensure that Creatomate can generate a visual based on the template and provided data. You can view the visual by accessing the URL provided in the test result. Keep in mind that rendering may take some time, so if you receive a Not Found message, simply wait a few seconds and then refresh the page. It's worth noting that this may only occur during the testing phase, because once the Zap is live, it will wait for the visual to finish before proceeding. If this test is successful, move on to the next step:

4. Post on Facebook
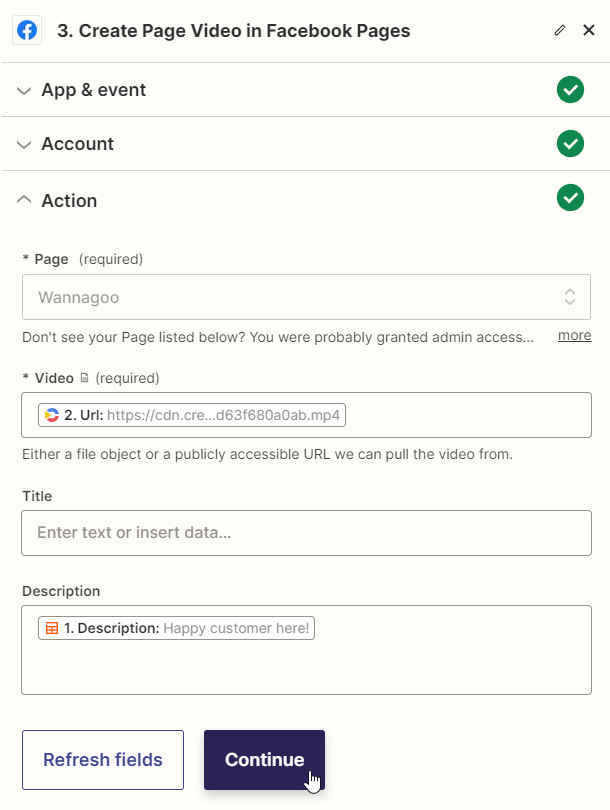
Click +, search for the Facebook Pages app and select the Create Page Video (or Photo) event. Continue by connecting your account.
On the Action page, select your Facebook page first. Then, select Creatomate -> Url in the Video field and Zapier Tables -> Description in the Description field. When done, click Continue:
Finally, click Test step on the Test page. If everything is set up correctly, the visual should now be posted on your Facebook page:
When the test is successful and you're happy with your workflow, click Publish to activate it.
What's next for automated Facebook posts?
There you have it! You now know how to automate Facebook posts using Zapier and Creatomate. Setting up a customized workflow takes just a few simple steps and can be completed in minutes. Simply choose a trigger that works best for you, for example, connect an Airtable base, Google Drive folder, or any other app.
In addition to automating Facebook, you might also want to streamline your other social media channels. Consider exploring these tutorials next:
- Automatically create and post YouTube Shorts
- Automatically create and post TikTok videos
- Automatically create Instagram posts
If you often create videos with spoken content, such as podcast clips, you'll likely find Creatomate's auto-transcription feature very useful. It automatically transcribes your videos and generates animated word-by-word captions. You can easily integrate this into your Zapier workflow, allowing you to automatically add subtitles to your videos, which will then be shared on your preferred social media platform. Check out this tutorial to get started.
You might also like these tutorials


Start automating today
Start with a full-featured trial with 50 credits, no credit card required.
Get started for free →