How to Automatically Create and Post Social Media Videos with Zapier

In this no-code tutorial, you'll learn how to automatically generate Twitter, Facebook, and YouTube videos using Airtable and Zapier.
There's no doubt that video on social media gets more eyeballs, clicks, and engagement. However, without the right tools and workflows, creating social media videos can take up a great deal of your time.
One of the most efficient ways to use social media video without making it your full-time job is through automation. No-code tools such as Zapier and Integromat already makes this very easy. Here, I will show you step-by-step how to set up an automated workflow to generate video for any of the popular social media platforms using Zapier.
As an example, we will use the following video template, but you can use any of the pre-made templates or completely design your own video. We'll set up a no-code workflow for auto-generating videos based on that template, which get posted on social media, completely automatically:
Prerequisites
These are the tools we'll use:
- Zapier: to set up the automated workflow.
- Any app that lets you enter data: such as Airtable or Google Forms.
- Creatomate: to auto-generate the social media videos. Create your free account here.
- Facebook Pages, Twitter, and YouTube: to post the videos.
We'll use Airtable for organizing social media posts. Of course, feel free to replace this with any of the 5000 apps supported by Zapier.
The video will be posted to Twitter, Facebook, and YouTube. Again, you don't have to use any of these platforms, and you can use the video wherever you want. However, if you want your videos to go to Instagram and LinkedIn, use Make (Integromat), as Zapier doesn't support those platforms yet. Check out this tutorial to find out how.
How to create social media videos using Zapier?
We'll use a pre-made template which will be the design for our social media videos. Alternatively, the template editor lets us create our own dynamic video templates to auto-generate the social media videos we have in mind.
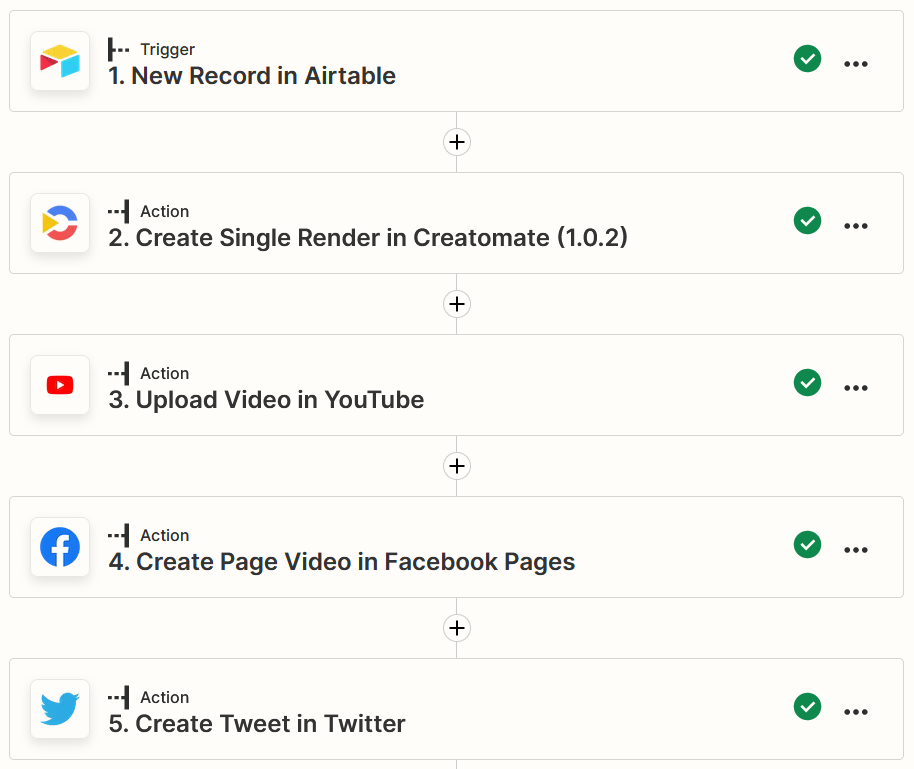
Once that's done, we'll set up a Zap that uses Airtable data to generate a video using Creatomate which we'll post to multiple social media channels. This is how the Zap will look:
Ready? Let's get started!
1. Create a template in Creatomate
Creatomate comes with a collection of ready-to-use templates. If you want to make a social media video that is more customized, you can edit these templates or create your own from scratch.
Log in to your account, navigate to the Templates page, and click + New. From the Featured category, let's choose Quick Promo as 1:1 Square.
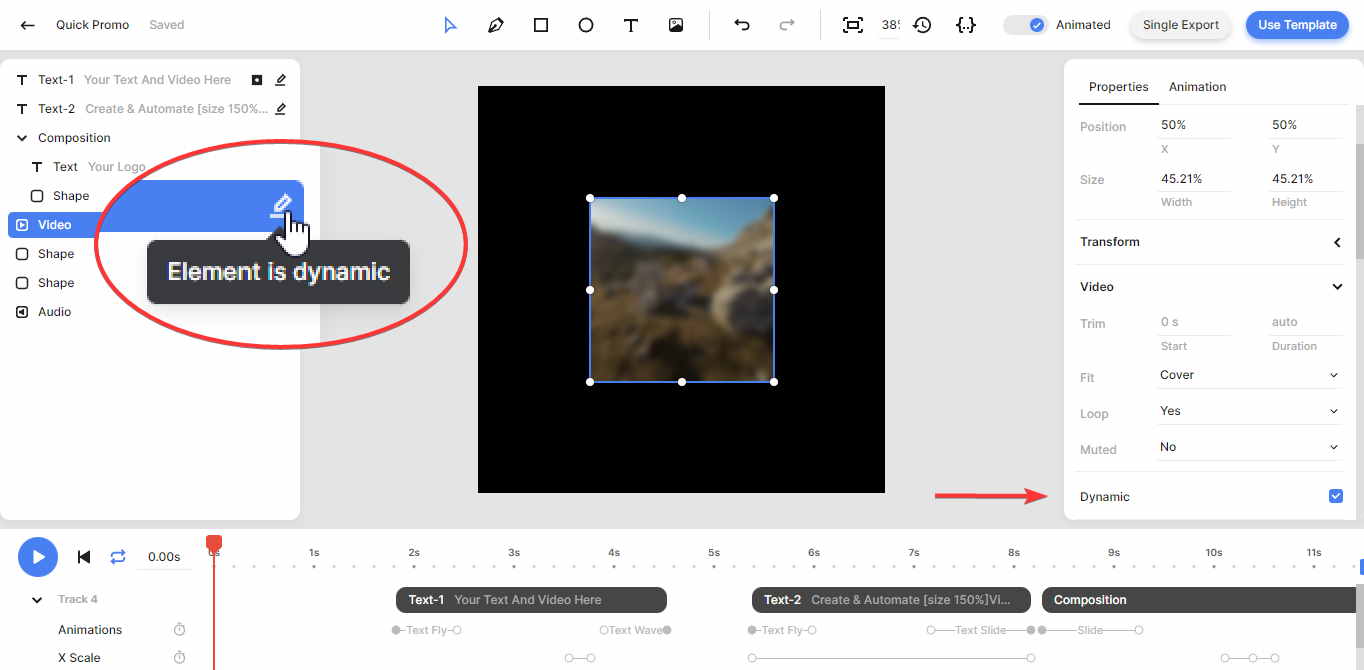
When we click Create Template, we're taken to the template editor. Here we can see that the template contains three dynamic elements; Text-1, Text-2, and Video. That means that these elements can be replaced with any text and media to make a completely unique video. You can make an element dynamic by selecting it, then checking Dynamic in the right-hand panel. In this case, we don't need to do anything because we'll use this template without changing it:
Next, we'll set up our automated workflow in Zapier.
2. Start the Zap with a trigger
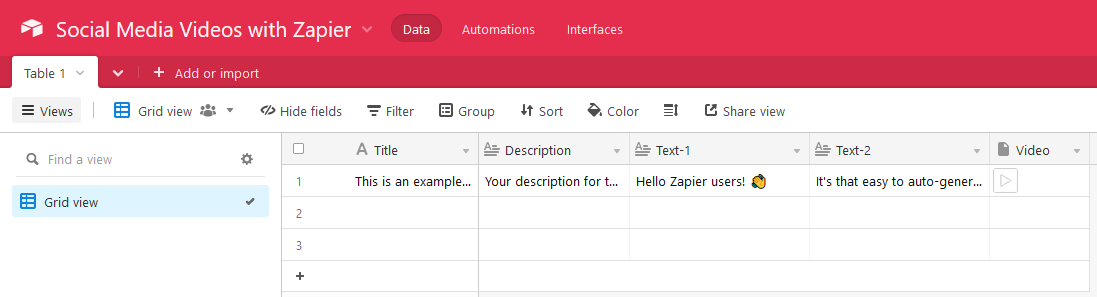
To create unique videos, we need a way to provide content. As an example, here's an Airtable table that we can use to organize our social media posts:
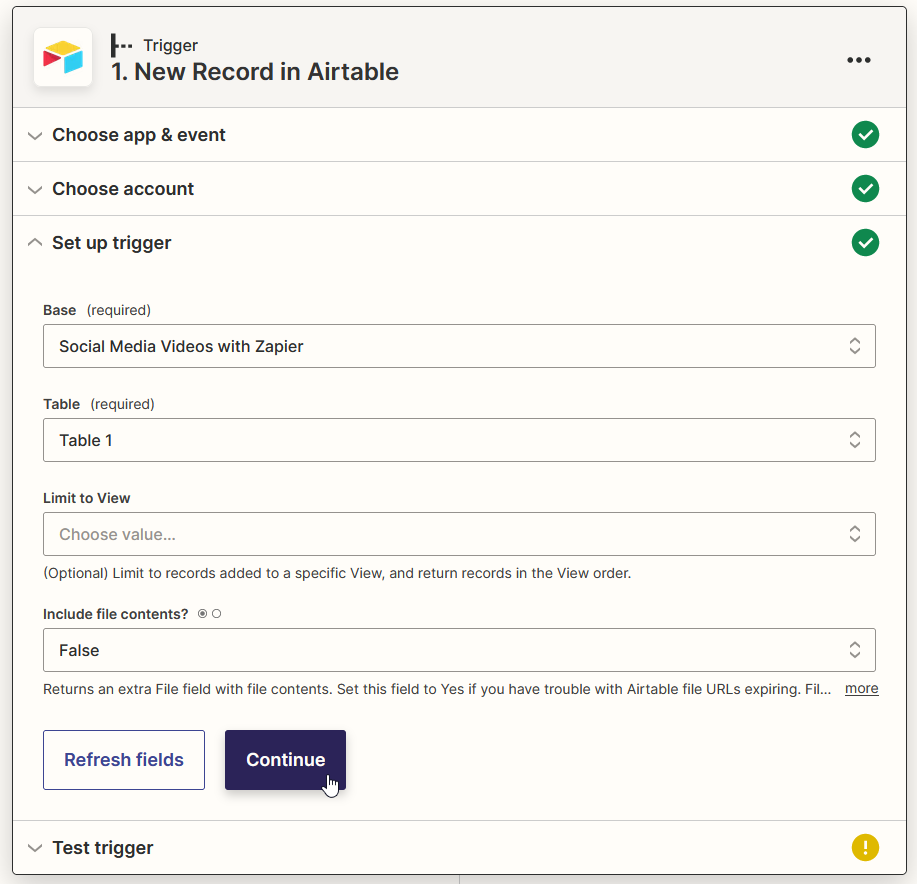
Log in to your Zapier account and click + Create Zap from your dashboard. Choose a Trigger (like Airtable) and select an Event (such as New Record). This is what I use:
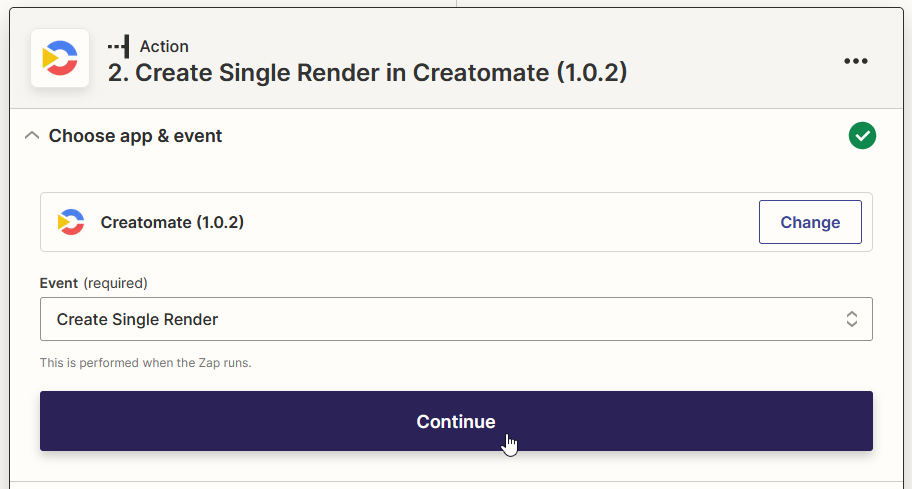
3. Add action: Create Single Render in Creatomate
Next, we'll add an action for generating the video. Choose the app Creatomate and select the event Create Single Render. Then click Continue.
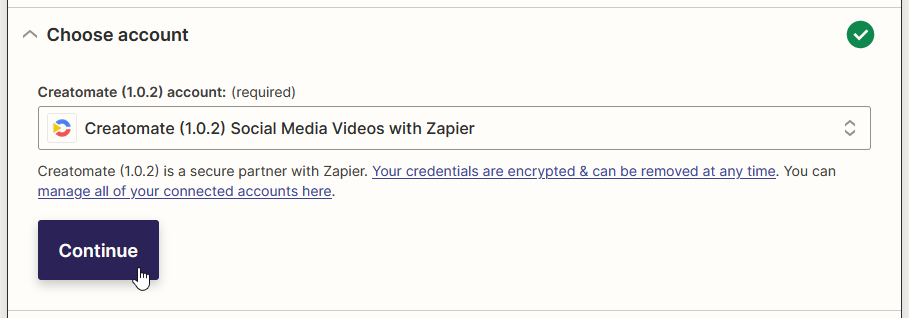
Connect your account by clicking Sign in, enter your project's API Key and click Yes, Continue. Click Continue:
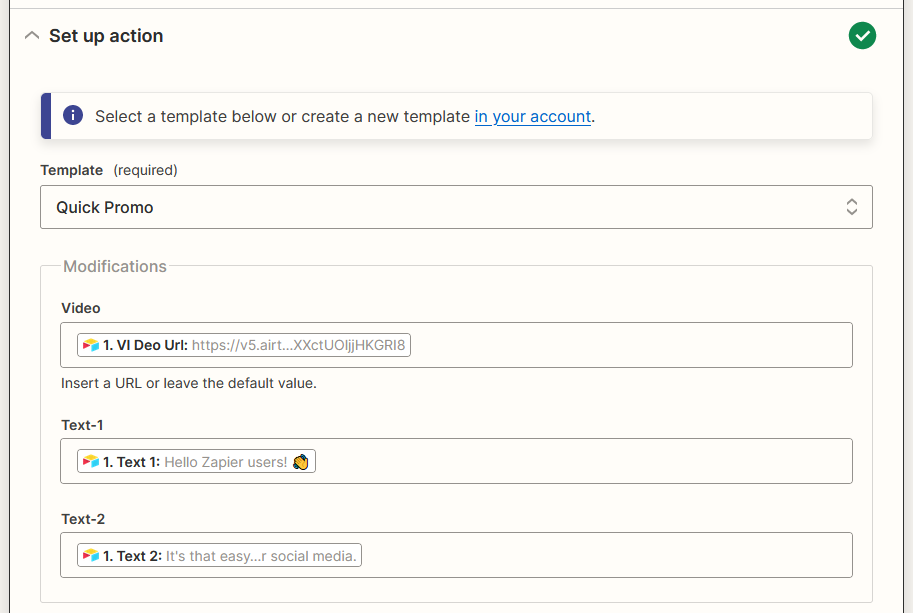
On the Set up action page, we'll select the Quick Promo template we created in step one. The Modifications fields allow you to map data to dynamic elements within that template:
- Set Video to Airtable -> Video Url
- Set Text-1 to Airtable -> Text 1
- Set Text-2 to Airtable -> Text 2
We won't use the advanced settings, so click Continue.
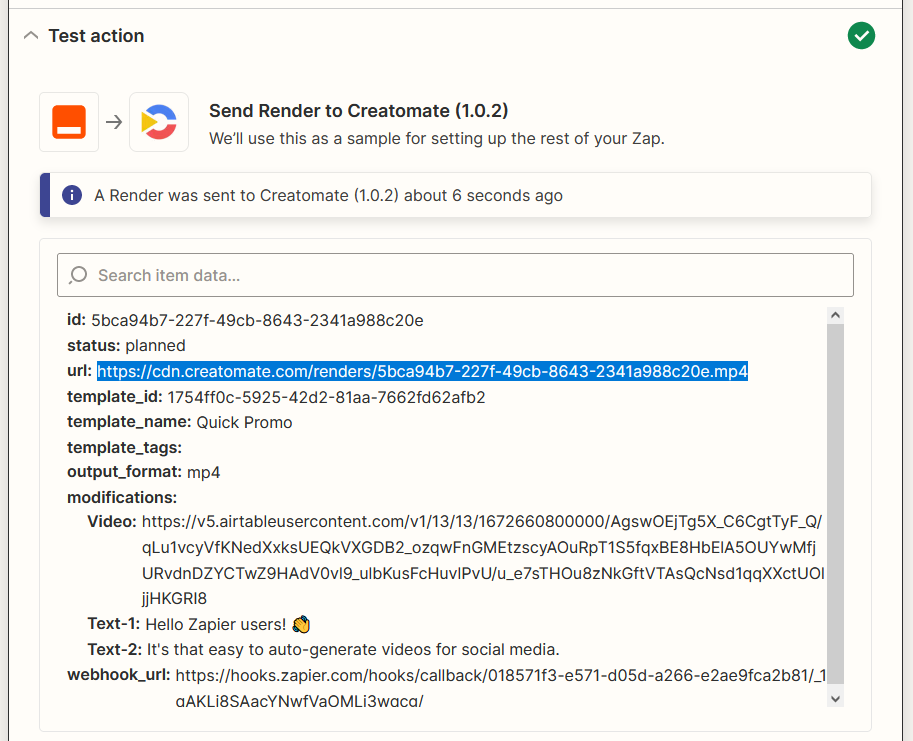
Let's see if Creatomate can generate a video based on our settings by clicking Test step. If the test was successful, we can view the video by visiting the URL in the response. This may take some time, so if the page says Not Found, try again after a few seconds:
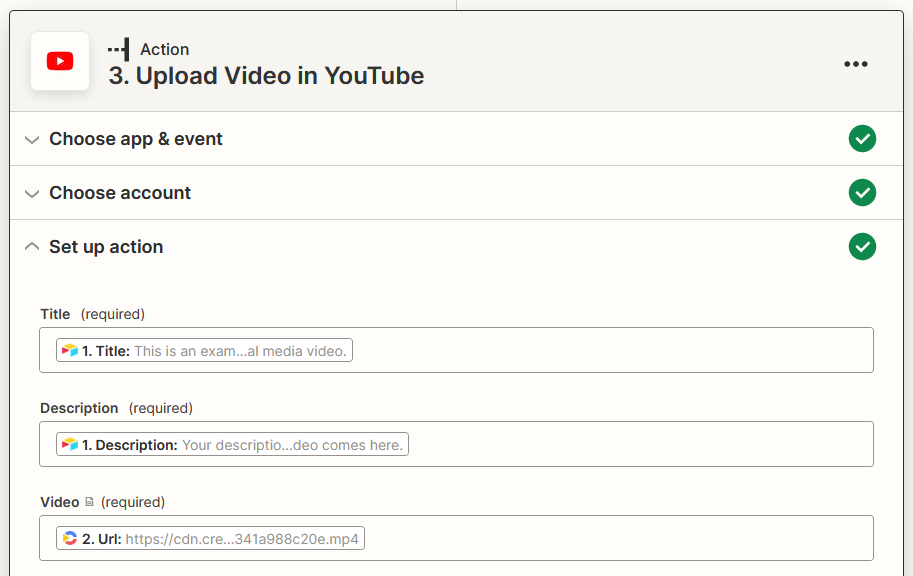
4. Add action: Upload Video in YouTube
Click + to add the YouTube app and select the Upload Video event. Continue by selecting your account or sign in with Google first.
Specify how you want the YouTube videos to be posted on the setup action screen. Fill in the required Title, Description, and Video fields with data from the previous steps. Use Creatomate -> Url to add the generated video. When done, click Continue.
On the last page, test the action to make sure it works. This is just a test. No video will be posted to your YouTube channel. This is to ensure that the data you send to YouTube is properly mapped.
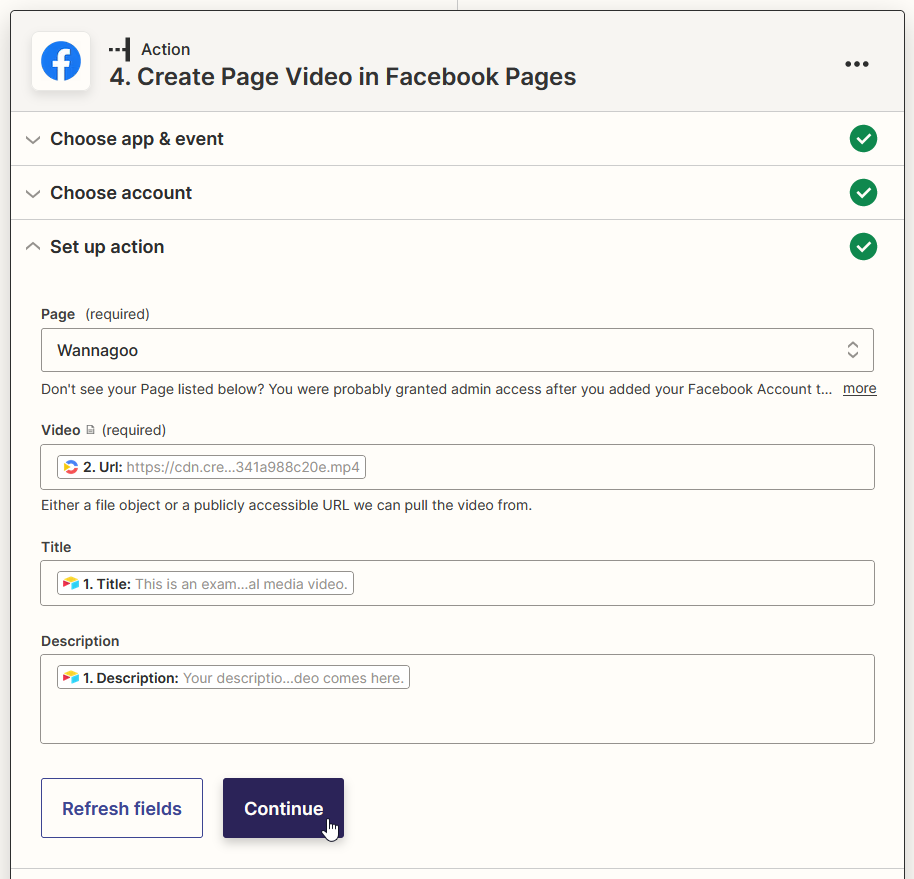
5. Add action: Create Page Video in Facebook Pages
Click + to add the Facebook Pages app and select the Create Page Video event. Continue by connecting your account.
On the set up action screen, you can specify how the post should look. Select your Facebook Page first. To add the generated video, select Creatomate -> Url in the Video field. It's optional to add a Title and Description to your post by entering text or linking data from the trigger app. When done, click Continue.
On the last page, test the action to make sure Zapier is able to post a video to your Facebook Page. It will be posted right away, so you might want to delete it afterwards.
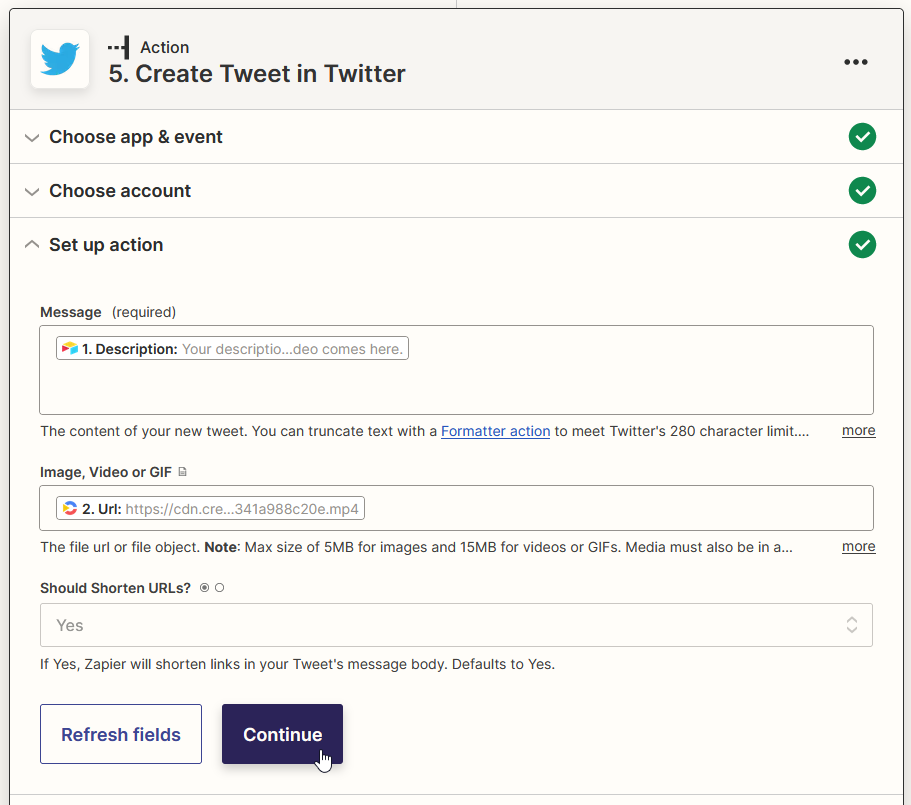
6. Add action: Create Tweet in Twitter
Click + to add the Twitter app and select the Create Tweet event. Continue by selecting your account from the list.
On the set up action page, you can set up a tweet. It's important to link to some previous data in the Message field to create unique tweets, because Twitter doesn't allow you to post duplicate tweets. Select Creatomate -> Url in the Image, Video, or GIF field to add the generated video. When done, click Continue.
Last but not least, make sure Zapier can post a tweet with the video to your Twitter account. It'll be posted immediately, so you might want to delete it afterward.
When you're happy with your Zap, click Publish Zap to activate it.
Wrapping up
Done! Now you know how Zapier and Creatomate work together to easily generate social media videos from any trigger and post them to YouTube, Facebook, and Twitter.
Using video automation opens up a world of possibilities. Think about what else you can automate besides social media video. How about sending your customers or prospects a personalized video? And what about adding watermarks or making them the right size automatically?
Thank you for checking out this tutorial. I hope you find it useful. Please contact me at [email protected] if you have questions or would like to discuss your use case. I'm glad to help!
You might also like these tutorials


Start automating today
Start with a full-featured trial with 50 credits, no credit card required.
Get started for free →