How to Create a Slideshow from Images using FFmpeg

Prerequisites
FFmpeg is a free and open-source video editing tool capable of trimming, cropping, concatenating, muxing, and transcoding almost any type of media file you throw at it.
It's also a very robust solution for implementing video automation, as we use it extensively in our own video editing API. For this tutorial we'll use FFmpeg 5.1.2, but any recent version will do.
Creating a simple slideshow
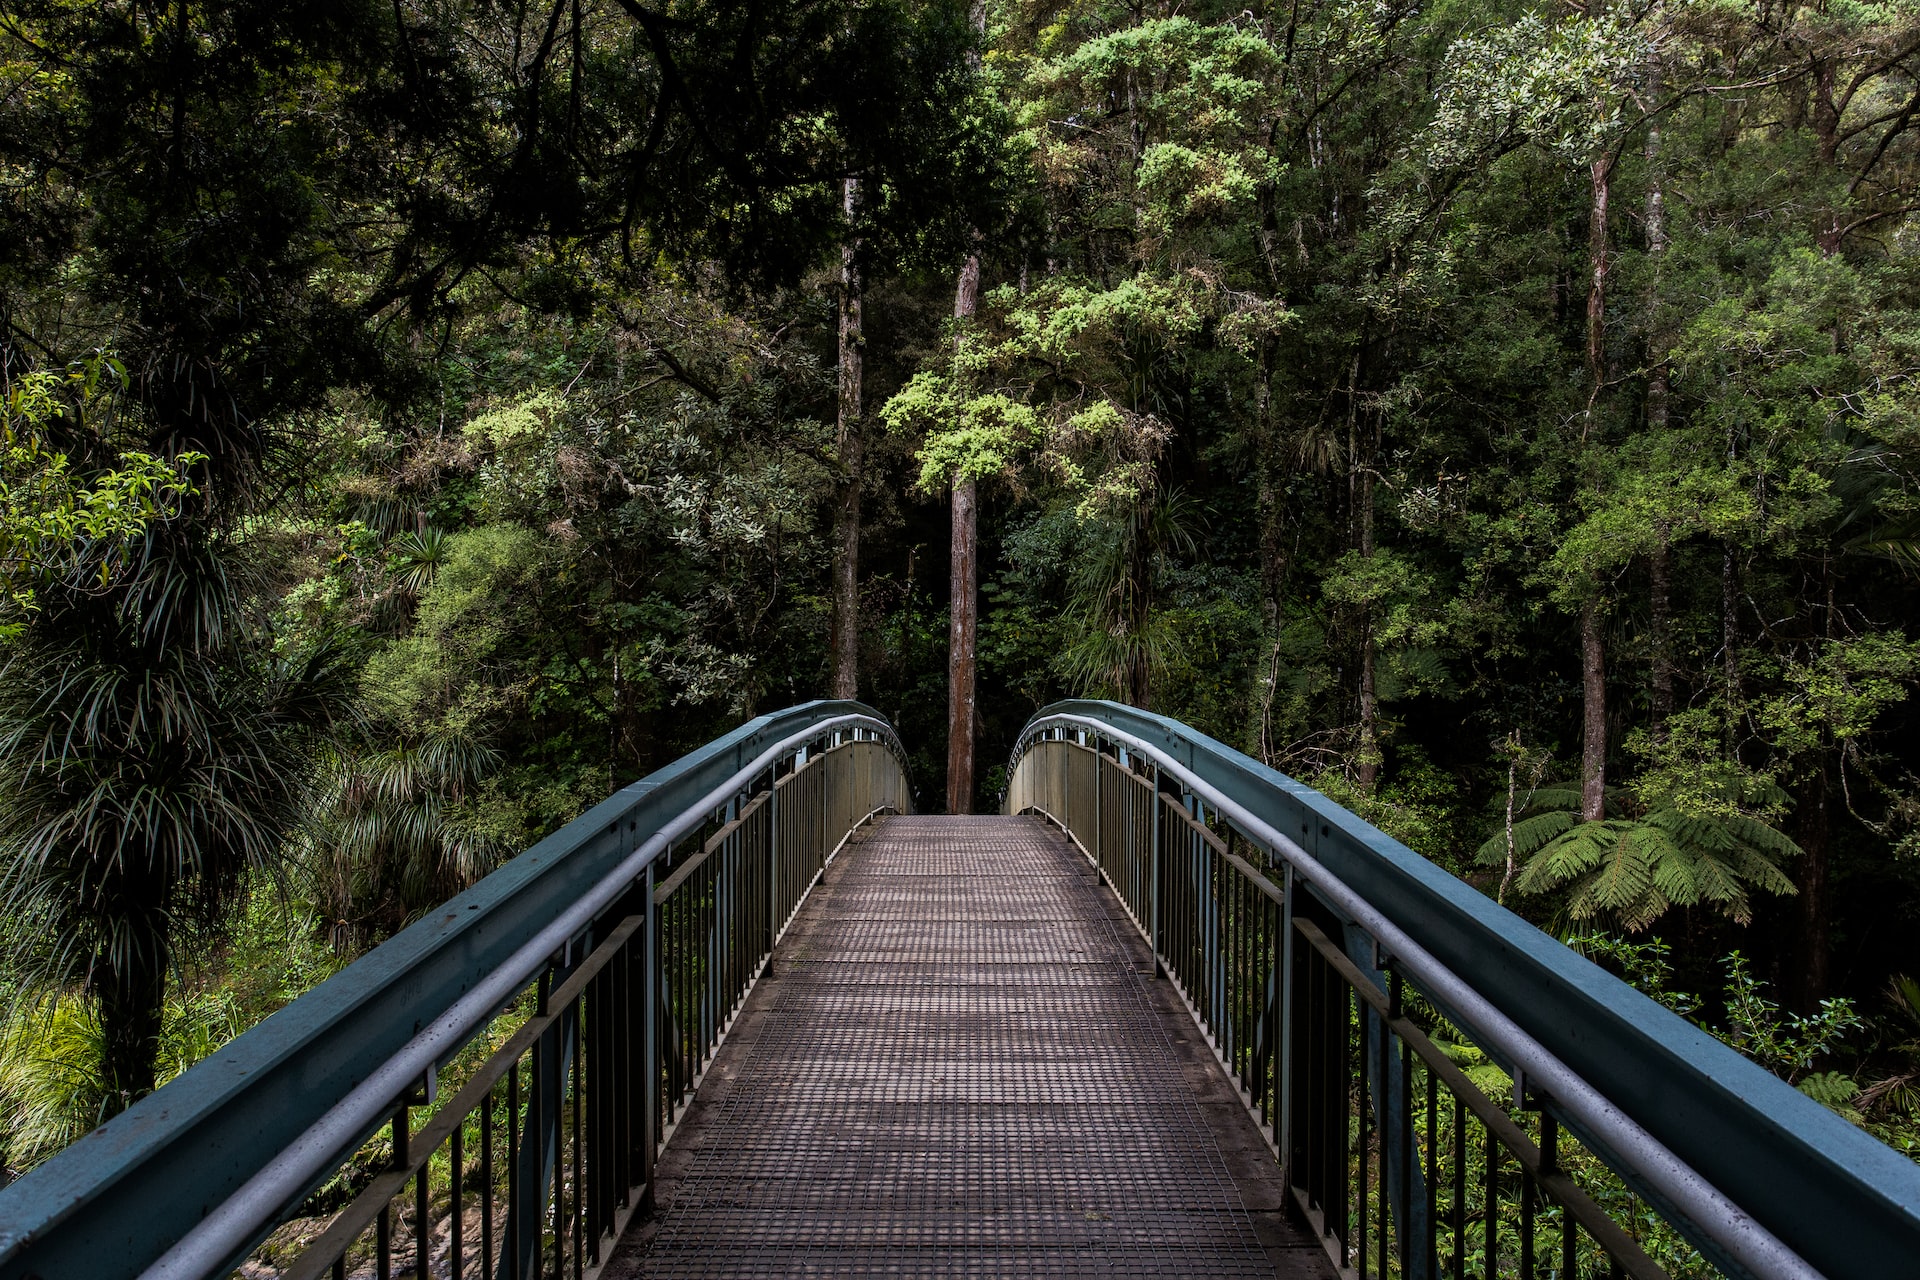
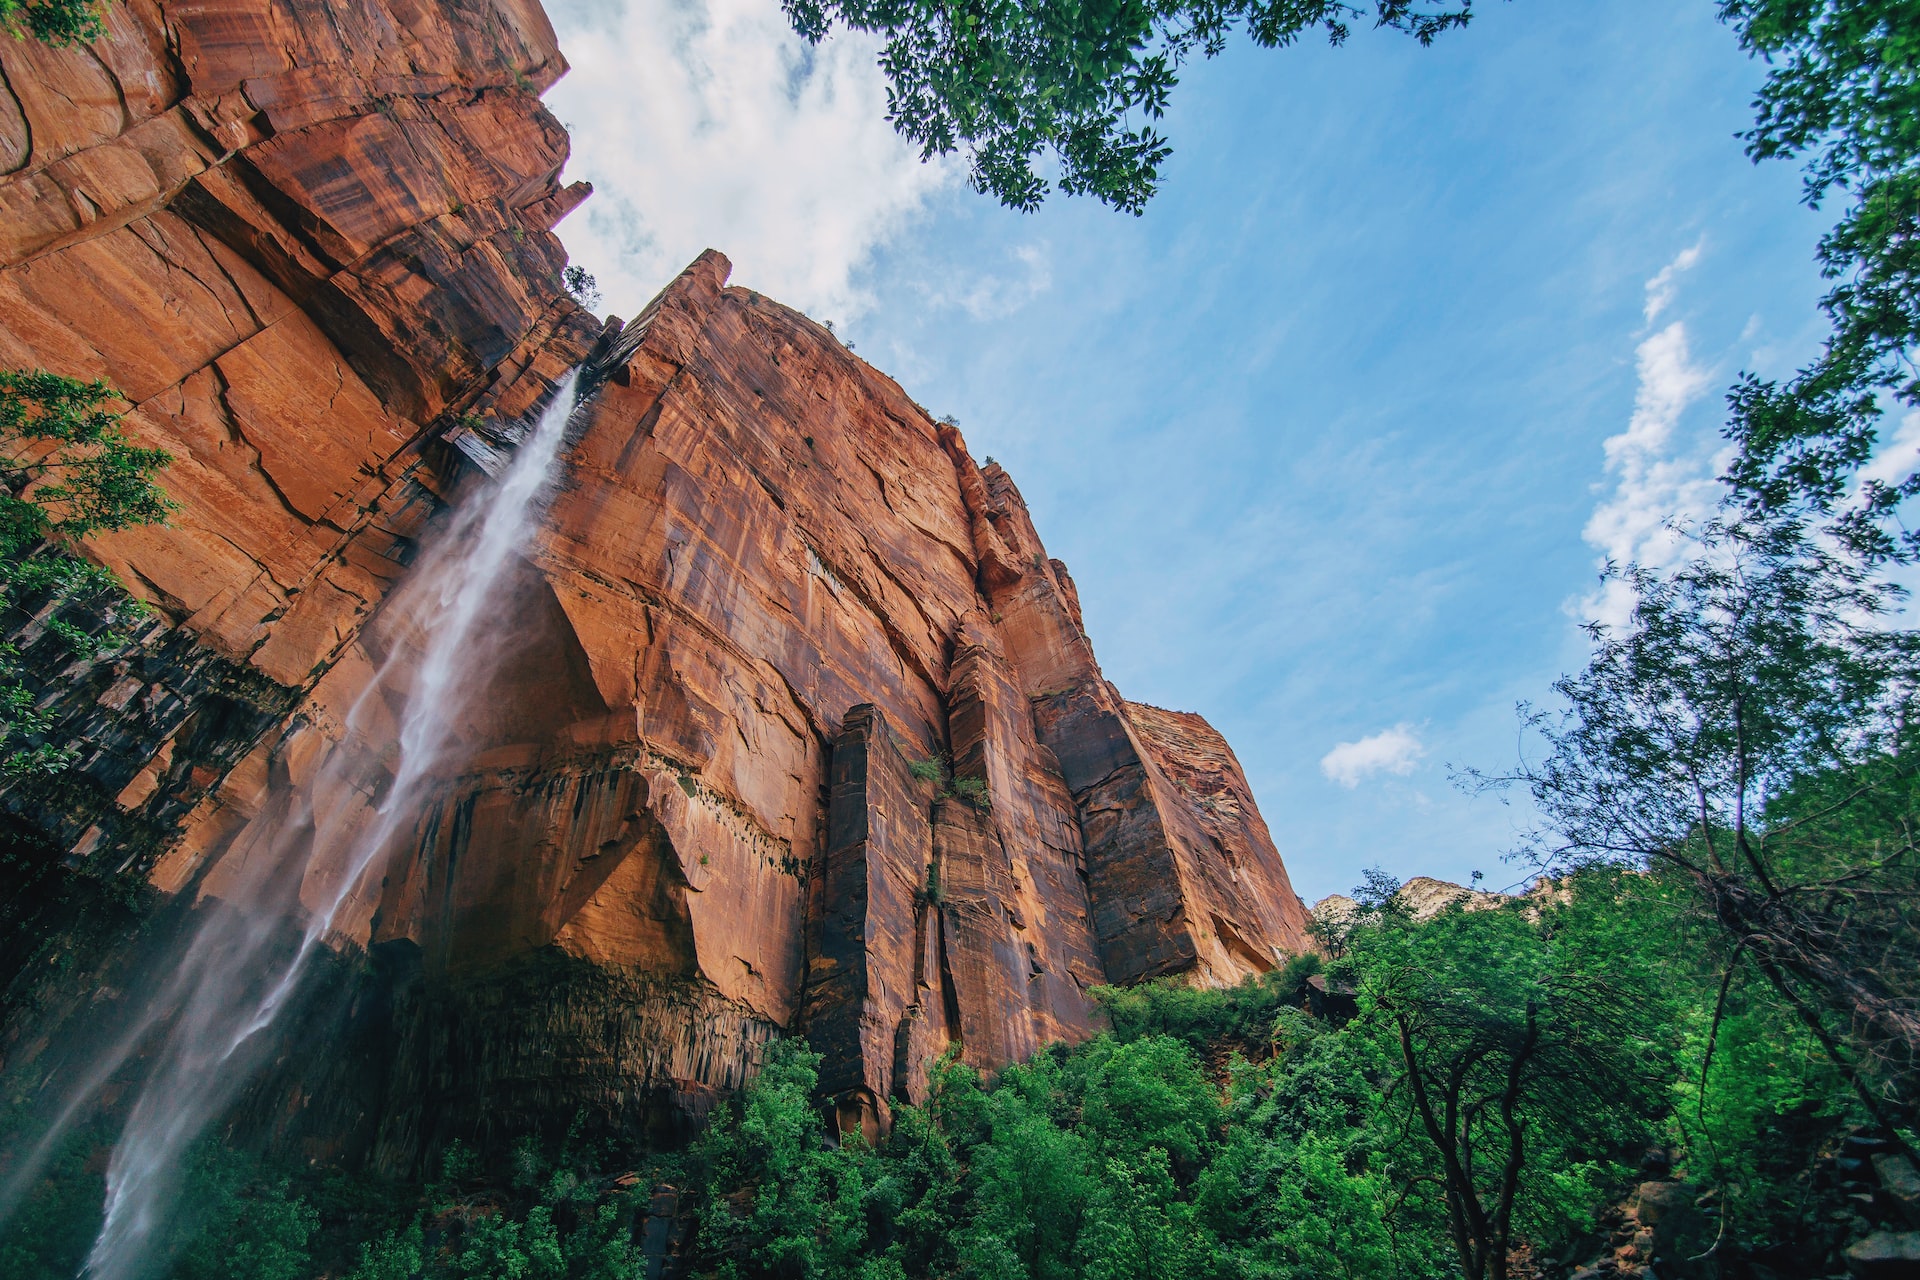
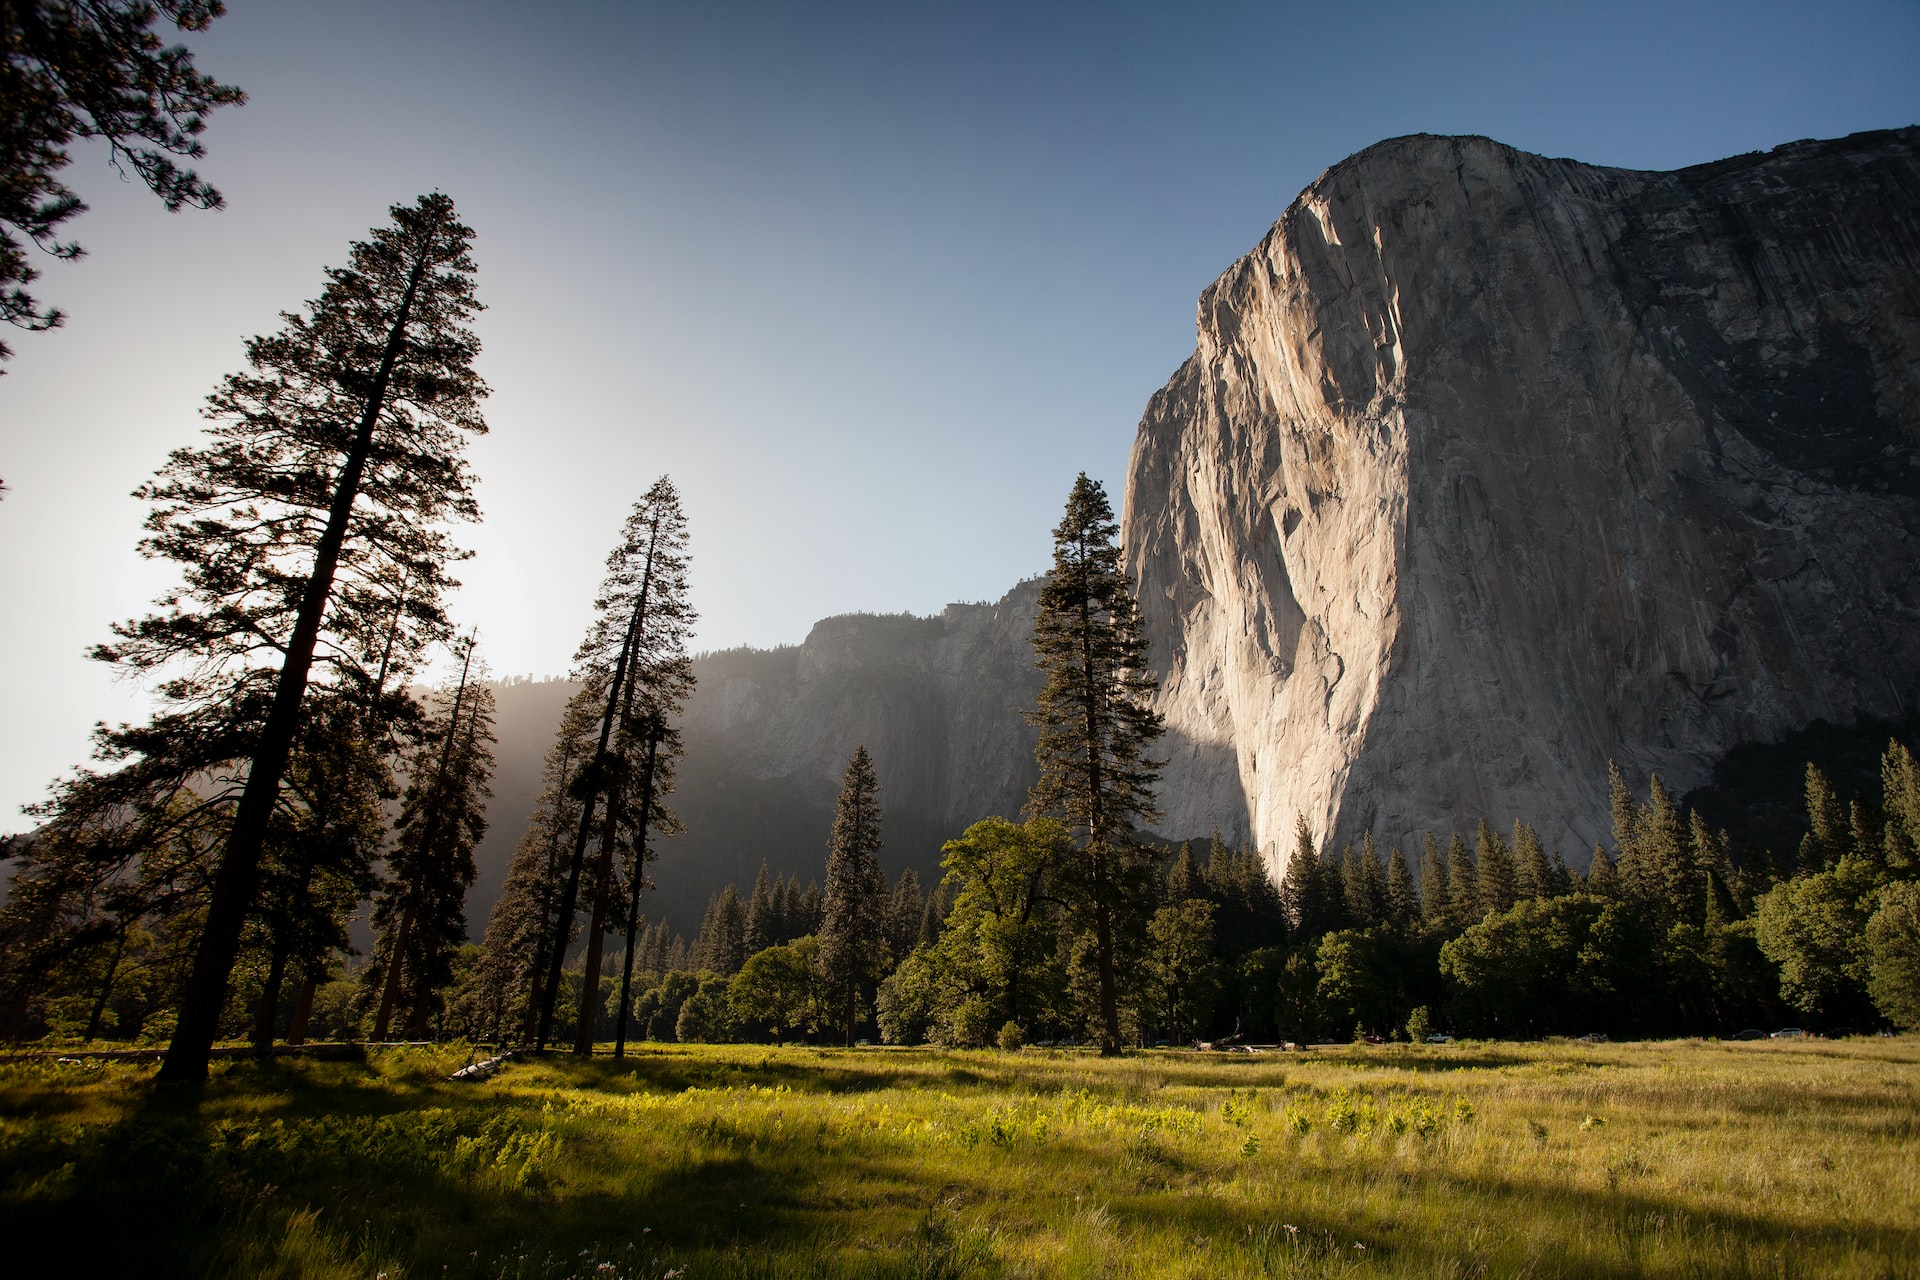
Let's start with an easy example, and make more interesting slideshows as we go. Here are the images we'll use in the following examples. Feel free to download them to follow along (right-click and click Save Image As...).
You can make the slideshow above by running the following command:
$ ffmpeg -framerate 1 -i image%d.jpg -r 25 -c:v libx264 -pix_fmt yuv420p output.mp4
- The -framerate 1 argument tells FFmpeg to display the images for one second each. To display them for 3 seconds each, we can use -framerate 1/3. It's important to place this argument before the -i argument, as it refers to the images we're importing.
- With -i image%d.jpg, we specify the location of the images. Using %d, we tell FFmpeg that it should import all the images in the sequence indicated by a number. Since we named our images image1.jpg, image2.jpg and image3.jpg, FFmpeg will import them in that order.
- The argument -r 25 specifies the video should be output at 25 fps. Considering we are creating a very basic slideshow, we can omit this argument, but I've found some video players struggle with the video, so I recommend specifying it anyway. Generally, 25 fps is fine. If you plan on animating between slides, go with 60 fps. It'll make the animations look much smoother.
- With -c:v libx264 -pix_fmt yuv420p, the video codec is set to H.264 and the pixel format to 4:2:0 subsampling, which is widely supported and makes the video playable on most devices.
Tip: When your video is made up solely of still images, use the -tune stillimage argument for better compression results. Use this with caution, since it can actually lead to worse compression for animated image slides like the ones below.
Transitioning between the images
Use the xfade (pronounced "crossfade") filter to transition between images:
$ ffmpeg -loop 1 -t 3 -framerate 60 -i image1.jpg -loop 1 -t 3 -framerate 60 -i image2.jpg -loop 1 -t 3 -framerate 60 -i image3.jpg -filter_complex "[0][1]xfade=transition=circleopen:duration=1:offset=2[f0]; [f0][2]xfade=transition=circleopen:duration=1:offset=4" -c:v libx264 -pix_fmt yuv420p output.mp4
- First, we input each image using the arguments -loop 1 -t 3 -framerate 60 -i image(n).jpg, ensuring that each image is displayed for 3 seconds at a 60 frame rate for smooth transitions.
- After that, multiple xfade filters are cascaded together. A crossfade is applied to the first and second images using the circleopen transition starting at the 2-second mark for one second, resulting in the stream f0. See this page for a complete list of transitions.
- Next, stream f0 is crossfaded with the third image at 4 seconds.
Using images with different resolutions
If you're getting the error message "First input link main parameters (size 1920x1280) do not match the corresponding second input link xfade parameters (size 1920x2880)", that's because your images have a different resolution. Xfade does not resize images for you automatically. To crossfade images of different resolutions, we need to resize them first:
$ ffmpeg -loop 1 -t 3 -framerate 60 -i image1.jpg -loop 1 -t 3 -framerate 60 -i image2.jpg -loop 1 -t 3 -framerate 60 -i image3.jpg -filter_complex "[0]scale=1920:1280:force_original_aspect_ratio=decrease,pad=1920:1280:-1:-1[s0]; [1]scale=1920:1280:force_original_aspect_ratio=decrease,pad=1920:1280:-1:-1[s1]; [2]scale=1920:1280:force_original_aspect_ratio=decrease,pad=1920:1280:-1:-1[s2]; [s0][s1]xfade=transition=circleopen:duration=1:offset=2[f0]; [f0][s2]xfade=transition=circleopen:duration=1:offset=4" -c:v libx264 -pix_fmt yuv420p output.mp4
If you want to learn more about the scale filter, I wrote a tutorial about it: How to Change the Resolution of a Video using FFmpeg
Adding a zoom effect
To add a zoom effect, commonly referred to as a Ken Burns effect, you can use zoompan:
$ ffmpeg -loop 1 -t 3 -framerate 60 -i image1.jpg -loop 1 -t 3 -framerate 60 -i image2.jpg -loop 1 -t 3 -framerate 60 -i image3.jpg -filter_complex "[0]scale=8000:-1,zoompan=z='zoom+0.001':x=iw/2-(iw/zoom/2):y=ih/2-(ih/zoom/2):d=3*60:s=1920x1280:fps=60[s0];[1]scale=8000:-1,zoompan=z='zoom+0.001':x=iw/2-(iw/zoom/2):y=ih/2-(ih/zoom/2):d=3*60:s=1920x1280:fps=60[s1];[2]scale=8000:-1,zoompan=z='zoom+0.001':x=iw/2-(iw/zoom/2):y=ih/2-(ih/zoom/2):d=3*60:s=1920x1280:fps=60[s2];[s0][s1]xfade=transition=circleopen:duration=1:offset=2[f0]; [f0][s2]xfade=transition=circleopen:duration=1:offset=4" -t 7 -c:v libx264 -pix_fmt yuv420p output.mp4
- Every image is resized by using scale=8000:-1 before being fed to the zoompan filter. The purpose is to enlarge the image so that we can zoom in more precisely. Leaving this out may result in jittery zooming.
- We then use the zoompan to perform the actual zooming. The z='zoom+0.001' expression gets evaluated every frame in order to calculate the current zoom factor. For this example, the zoom factor is increased by 0.001 every frame.
- The x=iw/2-(iw/zoom/2) and y=ih/2-(ih/zoom/2) expressions determine where the zoom window will be placed. Basically, it determines the location where the image is zoomed to. In this example, it's in the center of the image.
- The d=3*60 indicates the duration of the zoom. Given that each image will be displayed for 3 seconds at a frame rate of 60, we set it to 3*60.
- s=1920x1280 is the output resolution. It defaults to 1280x720 if we don't specify it.
- fps=60 is the output frame rate. It defaults to 25 if we don't specify it.
- The last step is to set the video duration, -t 7. The images are shown for 3 seconds each, but overlap twice for 1 second, so the total duration is 7 seconds.
If you want to learn more about the zoompan filter, I wrote a tutorial about it: How to Zoom Images and Videos using FFmpeg
Adding music to the slideshow
If you want to add music to the slideshow, simply add it as an additional input to FFmpeg:
$ ffmpeg -framerate 1 -i image%d.jpg -i music.mp3 -shortest -r 25 -c:v libx264 -pix_fmt yuv420p output.mp4
As a default, FFmpeg makes the output video long enough to fit every input, but we don't want that in this case, as the audio file is longer than the slideshow. By specifying -shortest, FFmpeg limits the video to the shortest of all inputs, which are the images.
Optimizing for streaming
If you intend to display the slideshow on a website, you should optimize it for streaming. This has to do with where the video file's meta information is stored. The browser needs this meta information to play a video, and it is placed at the end of the file by default. There is a problem with this, as it requires downloading the file in its entirety before it can be played. Modern browsers already take care of this by requesting the last part of the file first. That's if your server supports it – and it still requires an additional HTTP request.
Fortunately, there's a solution. FFmpeg can place this meta information at the beginning of the file, allowing the video to be played while it is being downloaded. To do this, simply add the -movflags faststart argument to the command.
$ ffmpeg -framerate 1 -i image%d.jpg -movflags faststart -r 25 -c:v libx264 -pix_fmt yuv420p output.mp4
Note that this is not necessary when posting to social media platforms, because these platforms optimize their videos themselves.
You might also like these tutorials


Start automating today
Start with a full-featured trial with 50 credits, no credit card required.
Get started for free →